
I thought that while I was at it, I'd take the radiator out and give it a back flush, and while it was out I'd paint it.
While the radiator's out, I might as well paint the horns too.
...and while I was at it, I'd change from the crap aftermarket overflow bottle for the pukka TR4A version.
The existing aftermarket overflow bottle was on the near side and the air-horns on the offside. The correct overflow bottle has to sit on the offside, so I also had to relocate the air horns.
Here's a few snaps of the engine bay before hand......


It was when I got the radiator out that I noticed how bad the paintwork was at the front end of the car, so no option but to sand it down, jenolite the rusty areas and respray.
It took forever to mask off the engine, especially taping up all those wires. Then I gave it a good spraying with the colour matched paint I had made up at Sayers in Northampton.


Looks even better when the masking was removed. However this then showed up just how bad some of the black metalwork (radiator tie bars and chassis) was, so this needed to be hamerited / undersealed to make it look just as good as the rest of the engine bay.


I bent the air horn mounting bracket to suit the near side and then discovered that it was 7mm too short! So had to cut it and weld in a fillet. Although it was painted black before, I decided it would be best in wedgewood blue

Next to fit the coolant bottle on the offside. The Moss kit came with a bracket .... that didn't fit. Presumably it would fit a TR4A but on my TR4 there was not enough room and fouled either the bodywork or the steering rack - and then didn't allow enough room to drop the bottle in it. So, cutting a piece off the mounting lug and drilling a new hole, it fitted onto the hole on the radiator bracket in just the right spot. The kit came with some rigid plastic tubing that needed heating with a hair dryer to make it pliable enough to push onto the radiator overflow pipe.
 These overflow bottles are not like the later cars expansion tank. The expansion tank principle works by having an enclosed radiator - by blanking off the filler with a non pressure cap, and having the pressure cap on the expansion bottle.
The overflow bottle in this case simply catches the water overflow when the water heats up and spills out under pressure. When the water cools down, water is sucked back into the radiator because there is a second valve inside the radiator cap that allows the water to return. The effect of the overflow bottle versus the expansion tank is identical. Just a different way of achieving the same thing.
Nearly all finished...


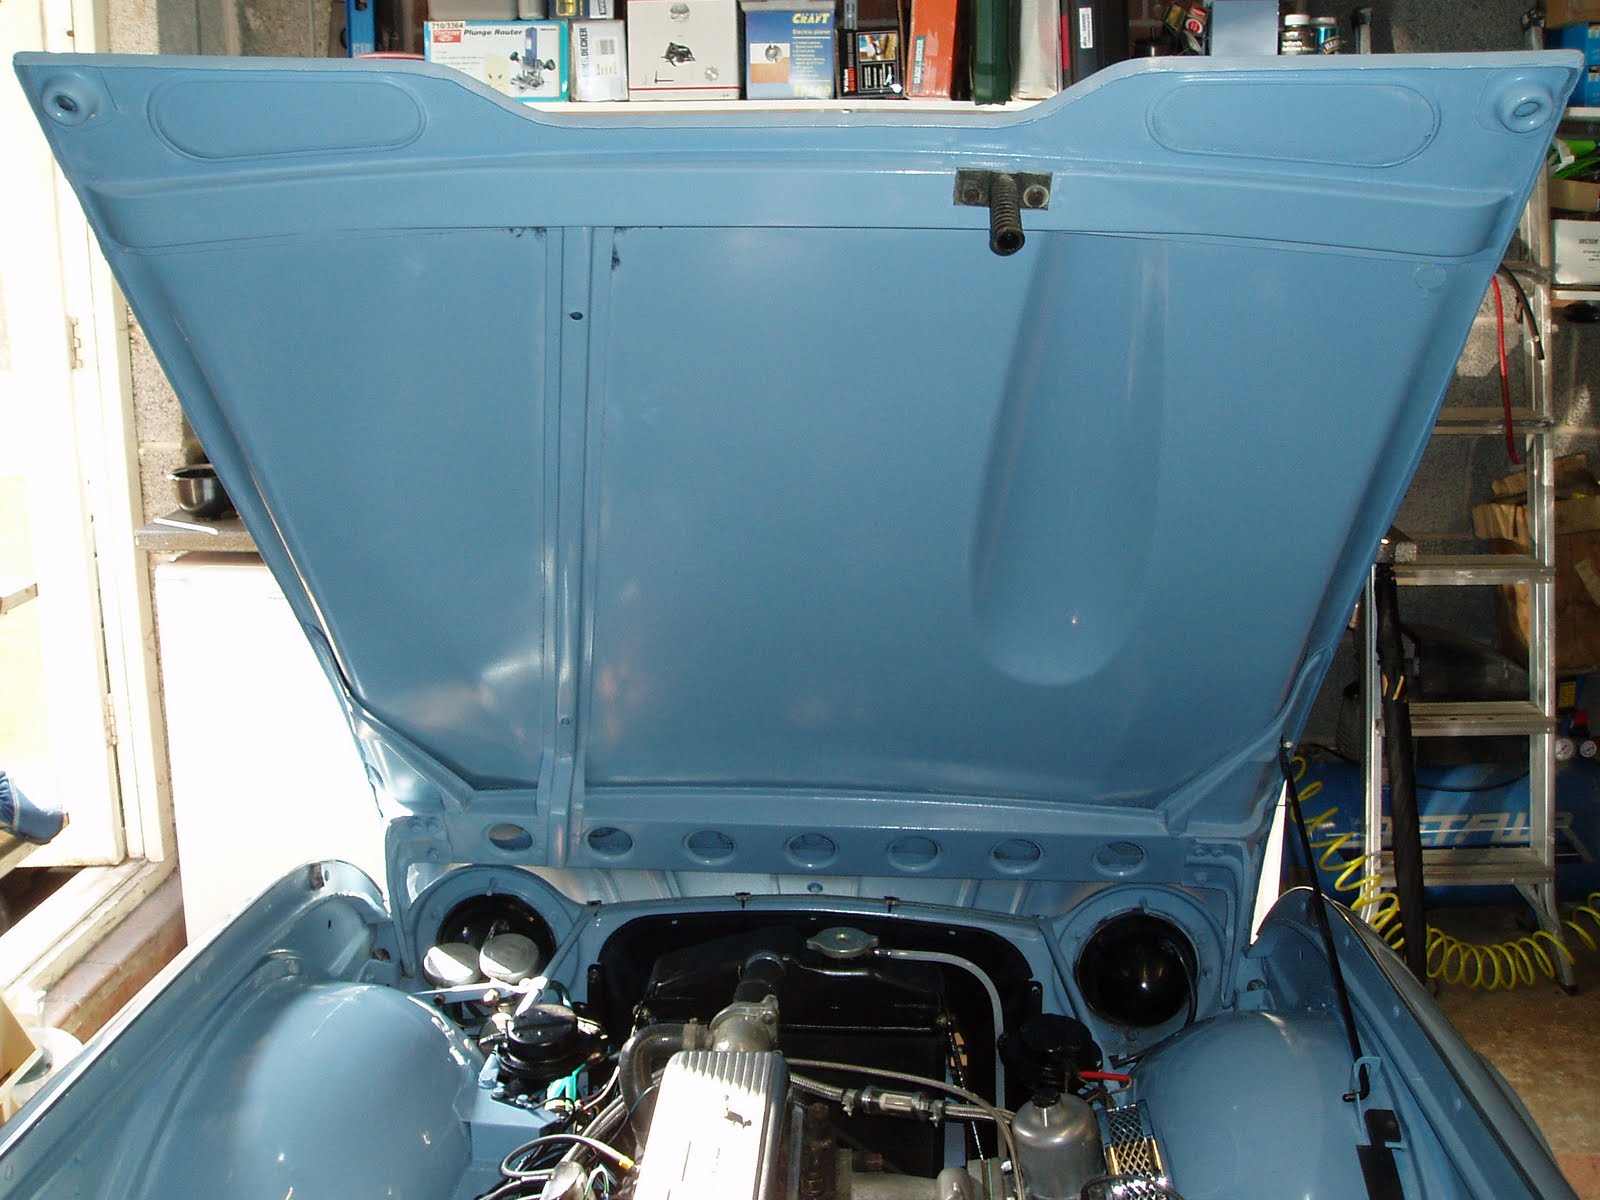
A couple of weeks later, the underside of the bonnet was dirty and marked, many of which would not sand out, so that too had to be painted to match the rest of the engine bay.
Here is the finished bonnet too.

Please feel free to comment on my blog by clicking on the "comments" link below.


A freshly painted engine bay can enhance both appearance and value. For expert help, consider checking out Auto Repair Services.
ReplyDelete