
When I bought Tina, the previous owner did tell me that I needed to weld this plate up ......... I finally got round to it. I'd been putting it off because I'd never welded before. I'd bought myself a MIG welder off eBay a couple of months ago, but never used it.....
OK so first what is scuttle shake? According to Wikipedia.....
"Scuttle shake (sometimes called cowl shake in the US) is the term used for the phenomenon experienced in many convertible or open top automobiles, where due to lower structural rigidity caused by the lack of a roof, the middle section of the chassis flexes, causing the bulkhead in front of the passenger compartment to move and vibrate when the vehicle is subject to uneven road surfaces. Passengers feel it as a noticeable vibration and shudder."
In the TR4, one of the areas where some bolting together of panels is done to increase rigidity is in the centre section between the transmission tunnel and the dashboard in this gap here:

You can see here the two holes above the three heater switches where the plate would bolt to, there are two matching holes above in the dashboard out of sight.
I've no idea what this plate was used for originally back in the 60's, (besides rigidity) but I have seen other cars with a bank of 'add on' switches and mine has a radio - so perhaps it was originally a blank plate.
I guess they'd have coped with old 60s/70s radios, as they had a small aperture, the radio went behind the plate and the face and knobs were popped on the front. Modern radios however have a large aperture, and this had been cut into my plate.......
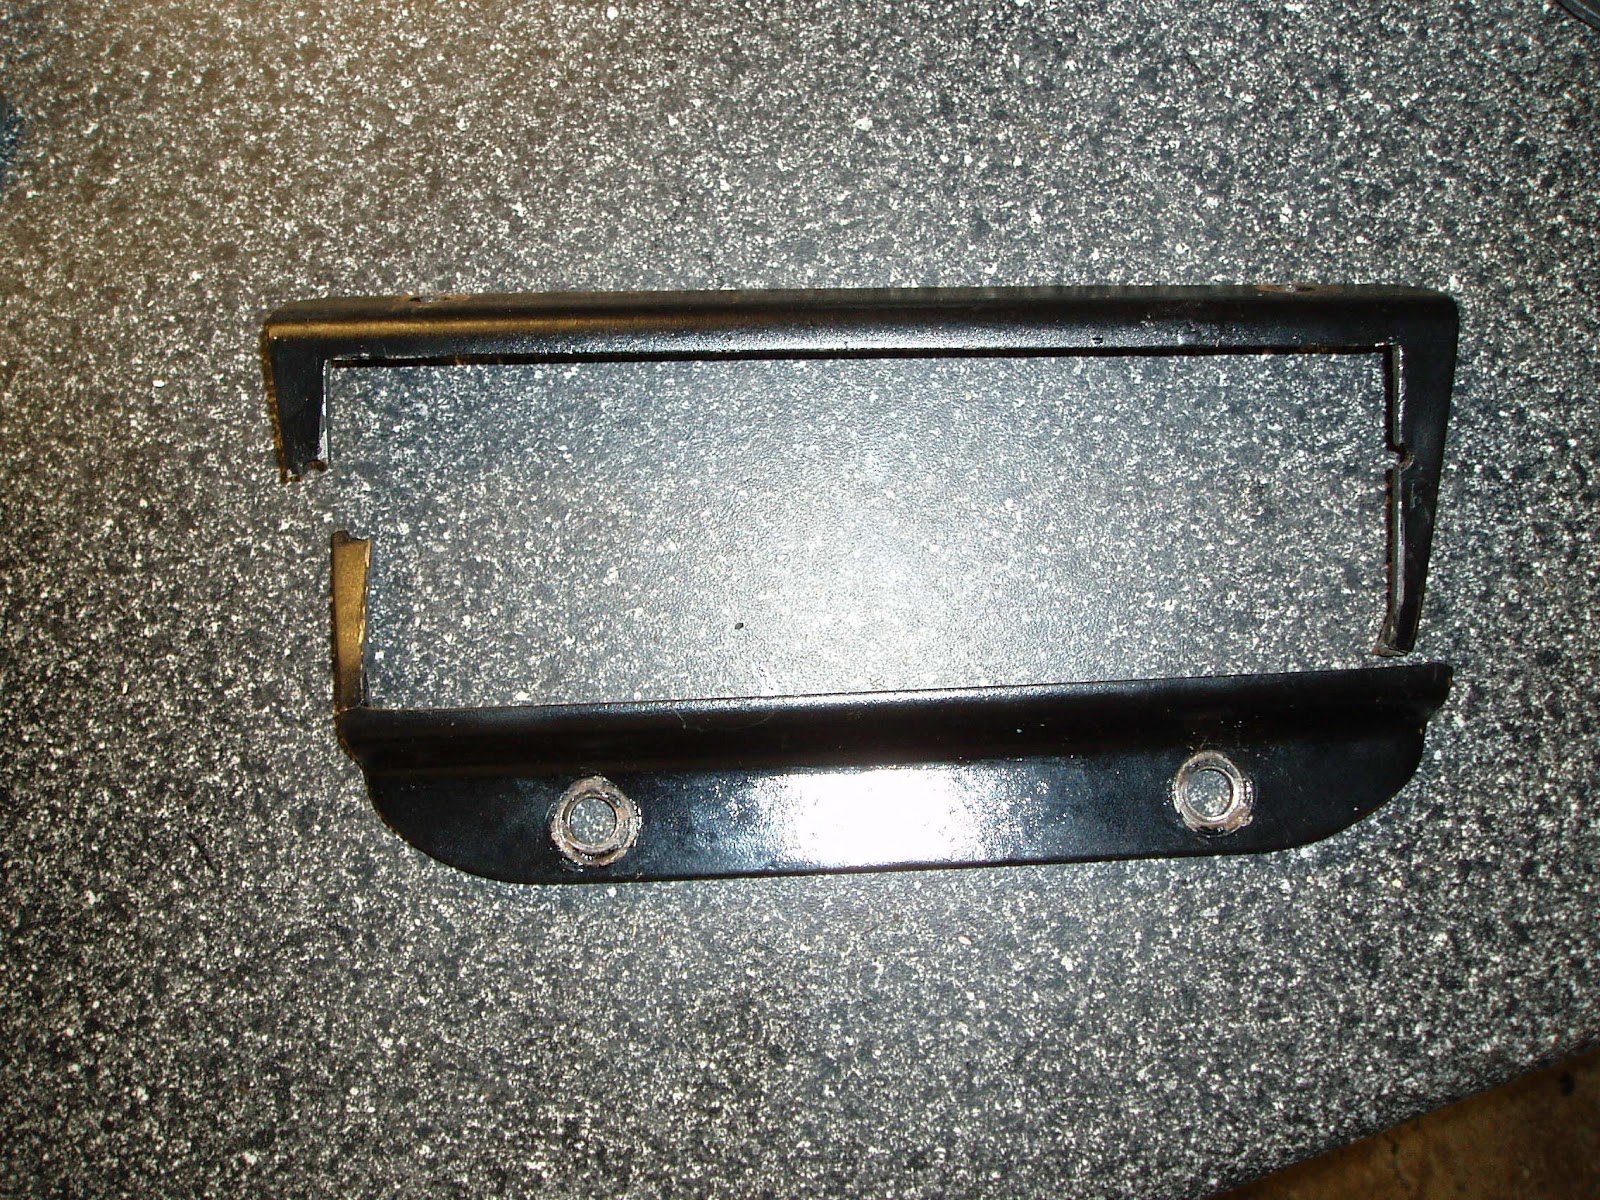
The resulting scuttle shake was too much for the thin sides to take and they broke. I needed to weld this up.
First problem, I've zero experience of welding, and I need to be able to hold this plate firmly and in the position to be welded while keeping the correct shape. I wanted a jig.
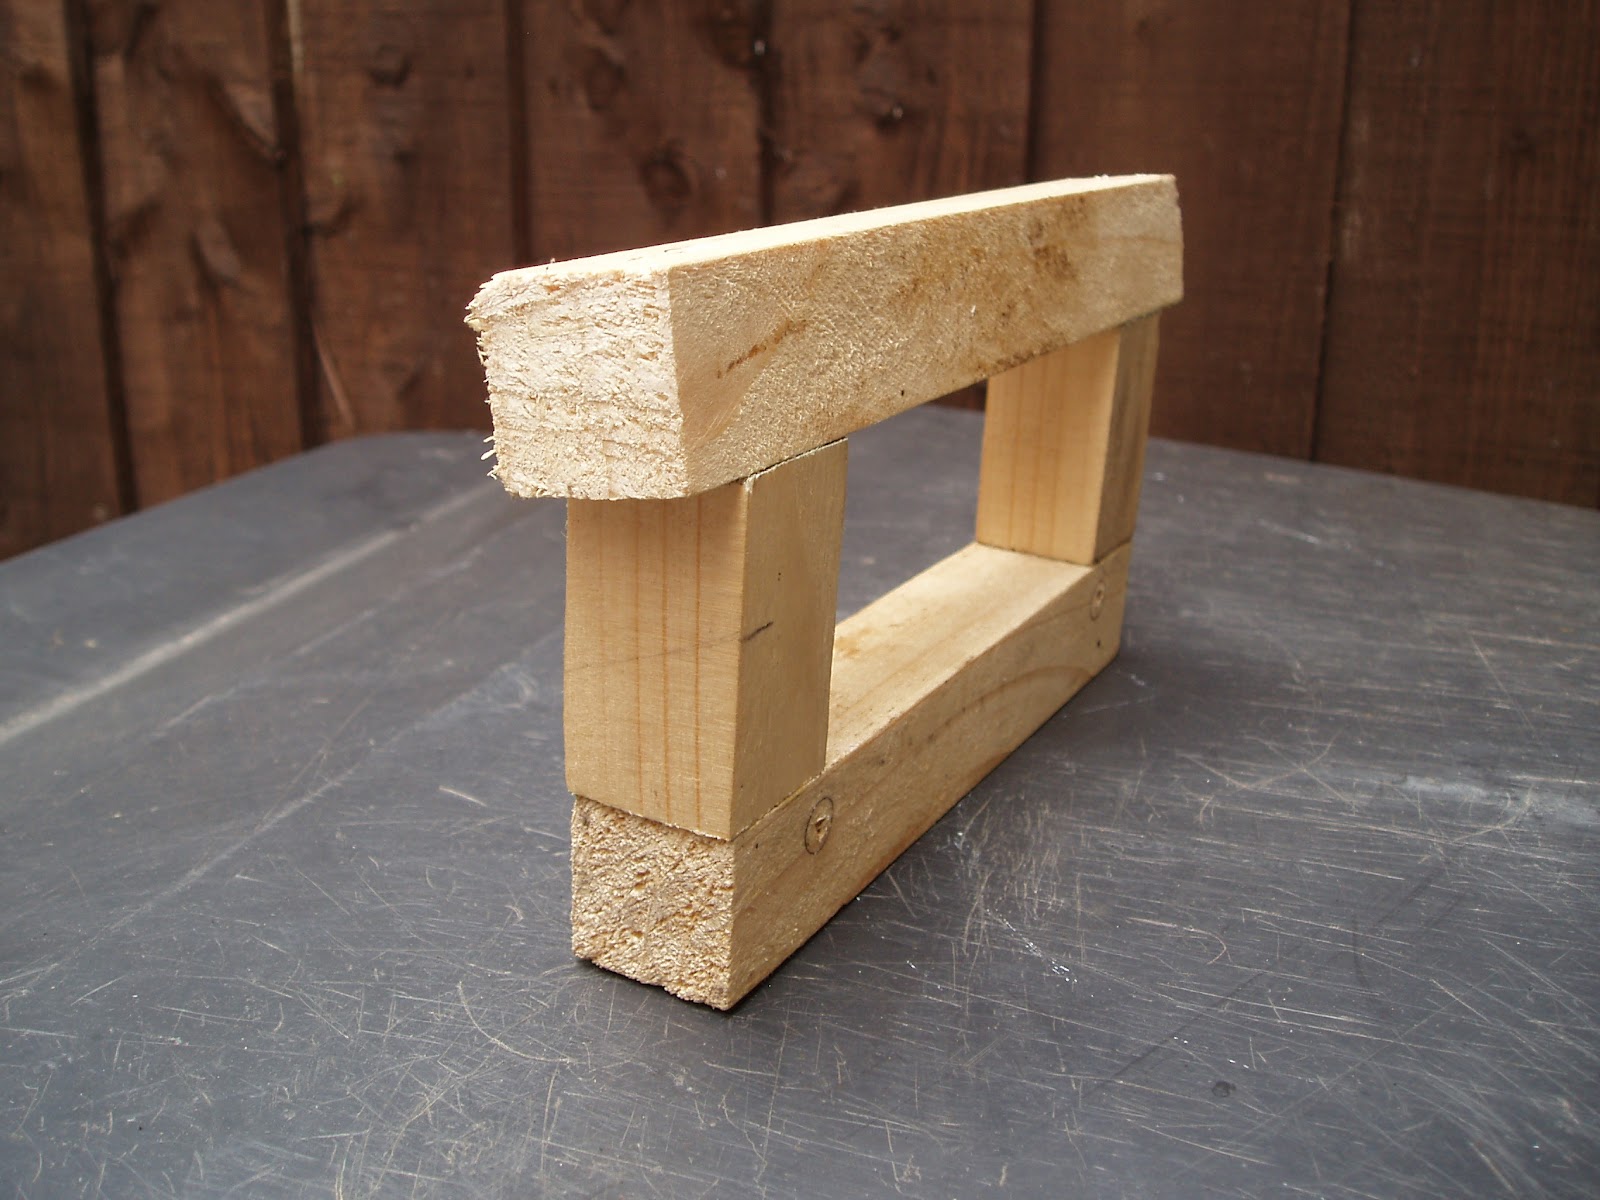
Yes I know it's wood, and welding might burn it! but I decided to take the chance. Notice how the top of the jig slopes back, the radio plate isn't exactly flat and so not that easy to just hold still. This made more sense. And although it's wood, it did survive!

It holds it still perfectly - now to sand off the paint and get welding!

Ta da! not a bad job - after getting the flap disc on it and grinding off the weld! Yes this really was my first attempt at welding, but then as it's 3mm steel, I thought there was very little chance of me burning a hole in it, so worth a go.
the whole structure needed strengthening though, I went off round the Yellow Pages finding steel fabricators and scrounged some 3mm plate and also some 18 guage steel (for practicing proper welding). I wanted to box in each end of this plate to make it much stronger.

That's better, much harder job for me too, but I was just starting to get better by the time I'd finished. And from the back.....

Not too much pidgeon poo there! I needed to file down some of the welds to enable the radio to pass through the gap, but no need to go to town tidying them up, they'll add to the strength and be completely hidden. Just gotta paint it up now and refit to the car.

Great job, car handling transformed, let's hope this time it lasts!
Please feel free to comment on my blog by clicking on the "comments" link below.

OK so first what is scuttle shake? According to Wikipedia.....
"Scuttle shake (sometimes called cowl shake in the US) is the term used for the phenomenon experienced in many convertible or open top automobiles, where due to lower structural rigidity caused by the lack of a roof, the middle section of the chassis flexes, causing the bulkhead in front of the passenger compartment to move and vibrate when the vehicle is subject to uneven road surfaces. Passengers feel it as a noticeable vibration and shudder."
In the TR4, one of the areas where some bolting together of panels is done to increase rigidity is in the centre section between the transmission tunnel and the dashboard in this gap here:
You can see here the two holes above the three heater switches where the plate would bolt to, there are two matching holes above in the dashboard out of sight.
I've no idea what this plate was used for originally back in the 60's, (besides rigidity) but I have seen other cars with a bank of 'add on' switches and mine has a radio - so perhaps it was originally a blank plate.
I guess they'd have coped with old 60s/70s radios, as they had a small aperture, the radio went behind the plate and the face and knobs were popped on the front. Modern radios however have a large aperture, and this had been cut into my plate.......
The resulting scuttle shake was too much for the thin sides to take and they broke. I needed to weld this up.
First problem, I've zero experience of welding, and I need to be able to hold this plate firmly and in the position to be welded while keeping the correct shape. I wanted a jig.
Yes I know it's wood, and welding might burn it! but I decided to take the chance. Notice how the top of the jig slopes back, the radio plate isn't exactly flat and so not that easy to just hold still. This made more sense. And although it's wood, it did survive!
It holds it still perfectly - now to sand off the paint and get welding!
Ta da! not a bad job - after getting the flap disc on it and grinding off the weld! Yes this really was my first attempt at welding, but then as it's 3mm steel, I thought there was very little chance of me burning a hole in it, so worth a go.
the whole structure needed strengthening though, I went off round the Yellow Pages finding steel fabricators and scrounged some 3mm plate and also some 18 guage steel (for practicing proper welding). I wanted to box in each end of this plate to make it much stronger.
That's better, much harder job for me too, but I was just starting to get better by the time I'd finished. And from the back.....
Not too much pidgeon poo there! I needed to file down some of the welds to enable the radio to pass through the gap, but no need to go to town tidying them up, they'll add to the strength and be completely hidden. Just gotta paint it up now and refit to the car.
Great job, car handling transformed, let's hope this time it lasts!
Please feel free to comment on my blog by clicking on the "comments" link below.