
When I bought Tina, she'd already had a thin fan belt conversion. One of the changes for this, is of course to change the crankshaft pulley - which contains the timing marks.
Reading up on how to check/set the timing, I was amazed to find out that the only mark on the crankshaft pulley is Top Dead Centre, and that the timing MUST be set statically. This is because the mechanical advance starts at about 450 RPM, so even when the car is idling at about 800 RPM, the mechanical advance has already kicked in. The stock workshop manual setting is for 4 degrees BTDC and to achieve that you have to set the ignition to Top Dead Centre, and then turn the vernier adjuster on the distributor to advance the timing by 4 degrees.
I didn't know what Tina's timing was set at, even if I looked using the light bulb across the distributor method, all I would see is that the timing was somewhere before TDC, but not actually know where. In addition, because the crankshaft pulley had been changed, I wasn't sure I believed that the TDC mark was actually in the right place. I needed a method of accurately finding TDC and then also the number of degrees BTDC.
I did a bit of googling on this subject and decided to ignore the "pencil down the spark plug hole" and "whistles" as I'm not convinced that these methods are any good. During the crankshaft travel over the Top Dead Centre, there will be a degree or two where the piston is not conceivably moving at all - because the crank is moving virtually horizontally at that point. I did stumble on the following method which I am convinced is about as accurate as I can get, and as accurate as I need to be.
First, I needed an old spark plug - I'd got plenty from my Rover P6, so I set about destroying it. It takes some doing, but you need to remove all of the ceramic insulator and the electrode, then with some silicone "bath sealant", glue/seal in one end of a 2 - 3 foot length of clear windscreen washer hose and leave to dry.

Remove Number 1 spark plug and the distributor cap. Rotate the engine by hand until the rotor arm is approaching the "No 1" position so that the No. 1 piston is on the compression stroke. Insert the home made plug with the hose attached and tighten, dip the other end in a small pot of oil. Mark the hose about 2 inches higher then the surface of the oil in the pot.
 Continue to turn the engine by hand, as the piston continues on the compression stroke, bubbles will be blown through the hose/oil, but as the piston commences the power stroke, oil will start to be sucked up the hose. As soon as it reaches your mark on the hose, stop and mark the crankshaft pulley.
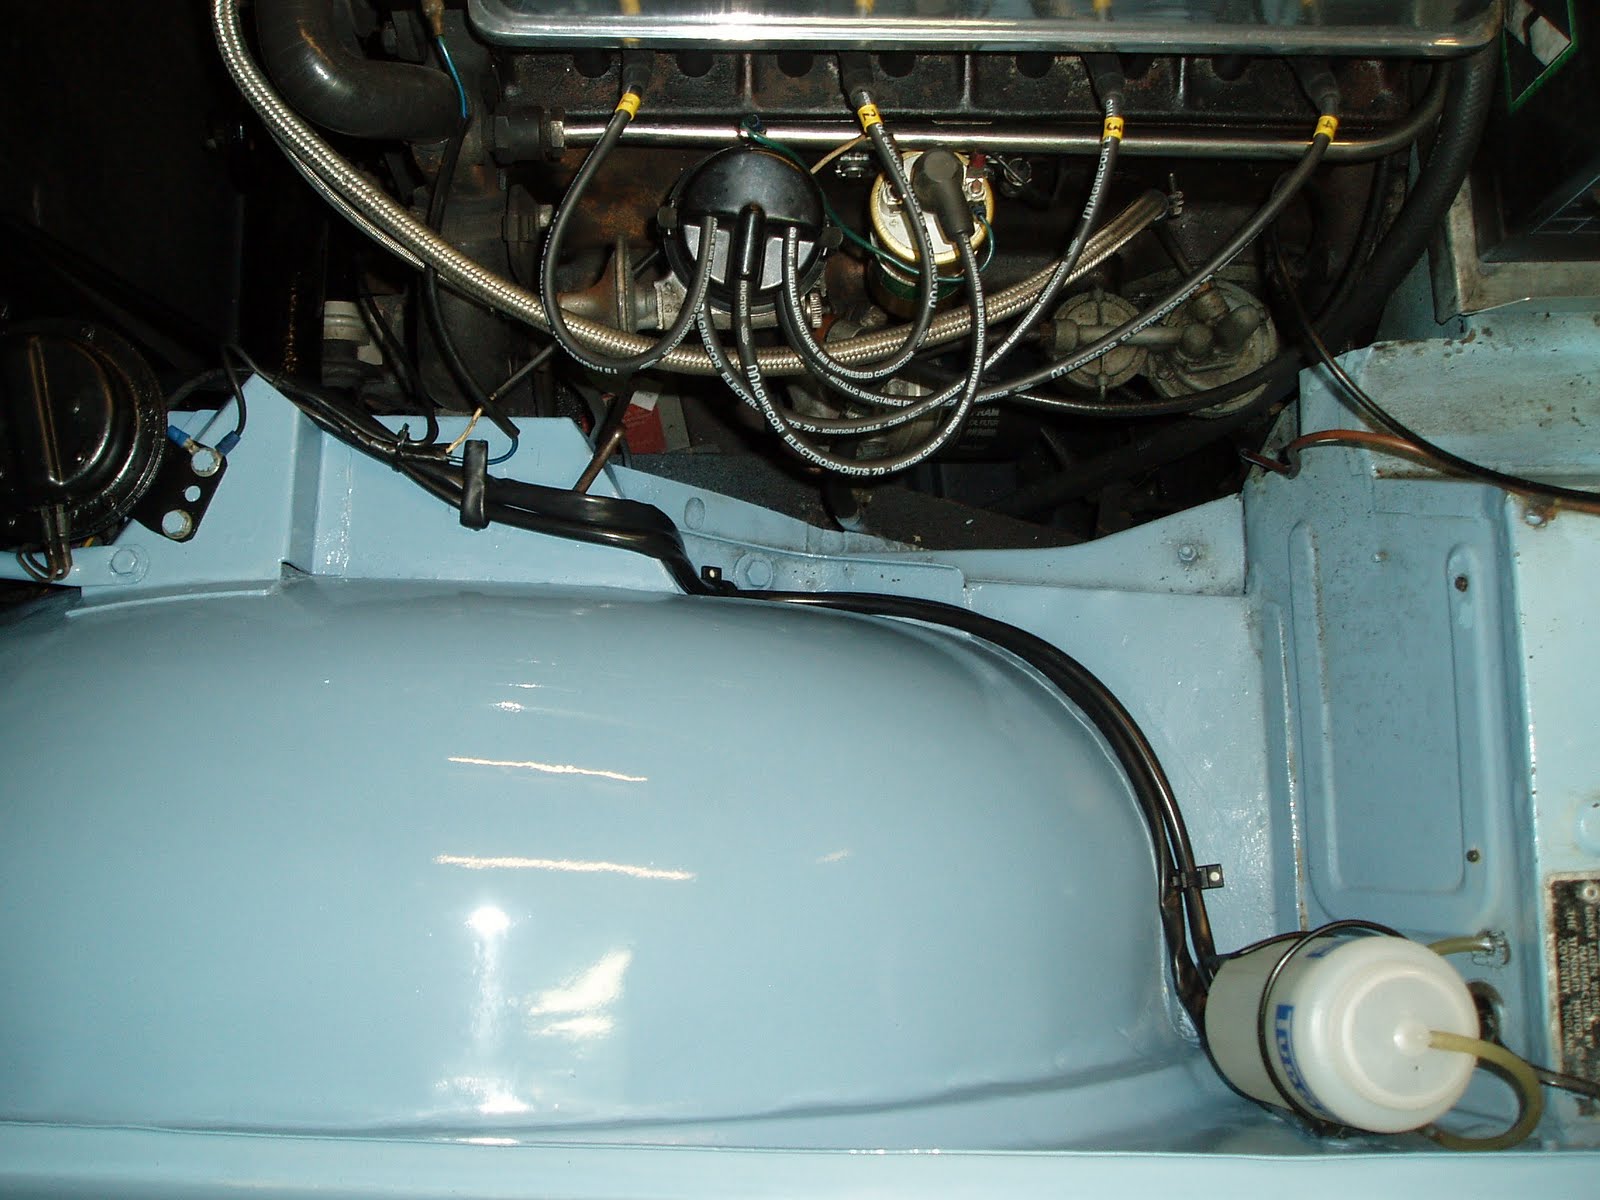
Here's a photo of the oil being sucked up - You can see that I sucked the oil up a long way past my mark, but that was just for the photo - the mark is down inside the pot and wasn't sure if it would show up very well.
 Now turn the engine slowly backwards, as the piston reverses the power stroke, the oil is forced out of the hose, as the piston reverses the compression stroke, oil is pulled back up the tube. Again when the oil level reaches the mark, stop and mark the crankshaft pulley.
Perform this procedure a couple more times to double check your markings, when you are happy, Top Dead Centre is exactly inbetween your two marks on the crankshaft pulley.
Here are my results, showing my two black marks and the original TDC notch in the Crankshaft pulley.

On this one, I have used a pair of dividers to measure the distance between my two marks, halved it, and then put a white mark on my real Top Dead Centre. You can see that there is a difference between my measured TDC and the actual mark on the crankshaft pulley. It does look like my white mark is not exactly in the centre, but that is due to the angle of the photograph and the curvature of the pulley.

I took a pair of "outside caliper" dividers to measure the diameter of the crankshaft pulley which I measured as 139 mm. By using some basic maths, PI*diameter = circumference of the crankshaft pulley. Dividing the circumference by 360 (degrees in a circle) will give me the distance in millimetres between degrees.
PI x 139 = 436.7 - Circumference is 436.7mm
436.7 / 360 = 1.2 - 1.2mm of the circumference per degree
Using dividers to measure the distance from the TDC notch in the pulley to my white mark showed that the distance between the two is 3.5mm.
3.5 / 1.2 =2.9 degrees
So the TDC notch is approximately 3 degrees After Top Dead Centre !!
I connected up an analogue voltmeter to the distributor and turned the engine until the points opened to check what the timing actually was set at and using dividers, measured the distance from the white TDC mark to the engine pointer. Using the same maths as above, my timing is set at about 6 degrees BTDC, rather more than the 4 prescribed by Triumph, but she behaves very well and never pinks so I'm leaving well alone. Interestingly, if she was originally setup using the TDC notch on the flywheel, then she'd be believed to be running at about 9 degrees BTDC !!
Please feel free to comment on my blog by clicking on the "comments" link below.

Reading up on how to check/set the timing, I was amazed to find out that the only mark on the crankshaft pulley is Top Dead Centre, and that the timing MUST be set statically. This is because the mechanical advance starts at about 450 RPM, so even when the car is idling at about 800 RPM, the mechanical advance has already kicked in. The stock workshop manual setting is for 4 degrees BTDC and to achieve that you have to set the ignition to Top Dead Centre, and then turn the vernier adjuster on the distributor to advance the timing by 4 degrees.
I didn't know what Tina's timing was set at, even if I looked using the light bulb across the distributor method, all I would see is that the timing was somewhere before TDC, but not actually know where. In addition, because the crankshaft pulley had been changed, I wasn't sure I believed that the TDC mark was actually in the right place. I needed a method of accurately finding TDC and then also the number of degrees BTDC.
I did a bit of googling on this subject and decided to ignore the "pencil down the spark plug hole" and "whistles" as I'm not convinced that these methods are any good. During the crankshaft travel over the Top Dead Centre, there will be a degree or two where the piston is not conceivably moving at all - because the crank is moving virtually horizontally at that point. I did stumble on the following method which I am convinced is about as accurate as I can get, and as accurate as I need to be.
First, I needed an old spark plug - I'd got plenty from my Rover P6, so I set about destroying it. It takes some doing, but you need to remove all of the ceramic insulator and the electrode, then with some silicone "bath sealant", glue/seal in one end of a 2 - 3 foot length of clear windscreen washer hose and leave to dry.

Remove Number 1 spark plug and the distributor cap. Rotate the engine by hand until the rotor arm is approaching the "No 1" position so that the No. 1 piston is on the compression stroke. Insert the home made plug with the hose attached and tighten, dip the other end in a small pot of oil. Mark the hose about 2 inches higher then the surface of the oil in the pot.

Here's a photo of the oil being sucked up - You can see that I sucked the oil up a long way past my mark, but that was just for the photo - the mark is down inside the pot and wasn't sure if it would show up very well.

Perform this procedure a couple more times to double check your markings, when you are happy, Top Dead Centre is exactly inbetween your two marks on the crankshaft pulley.
Here are my results, showing my two black marks and the original TDC notch in the Crankshaft pulley.

On this one, I have used a pair of dividers to measure the distance between my two marks, halved it, and then put a white mark on my real Top Dead Centre. You can see that there is a difference between my measured TDC and the actual mark on the crankshaft pulley. It does look like my white mark is not exactly in the centre, but that is due to the angle of the photograph and the curvature of the pulley.

I took a pair of "outside caliper" dividers to measure the diameter of the crankshaft pulley which I measured as 139 mm. By using some basic maths, PI*diameter = circumference of the crankshaft pulley. Dividing the circumference by 360 (degrees in a circle) will give me the distance in millimetres between degrees.
PI x 139 = 436.7 - Circumference is 436.7mm
436.7 / 360 = 1.2 - 1.2mm of the circumference per degree
Using dividers to measure the distance from the TDC notch in the pulley to my white mark showed that the distance between the two is 3.5mm.
3.5 / 1.2 =2.9 degrees
So the TDC notch is approximately 3 degrees After Top Dead Centre !!
I connected up an analogue voltmeter to the distributor and turned the engine until the points opened to check what the timing actually was set at and using dividers, measured the distance from the white TDC mark to the engine pointer. Using the same maths as above, my timing is set at about 6 degrees BTDC, rather more than the 4 prescribed by Triumph, but she behaves very well and never pinks so I'm leaving well alone. Interestingly, if she was originally setup using the TDC notch on the flywheel, then she'd be believed to be running at about 9 degrees BTDC !!
Please feel free to comment on my blog by clicking on the "comments" link below.


